You might have seen photos on Instagram with a caption like "Fujifilm recipe: Kodak Portra 400" and wondered what that means. Here's the simple explanation, no camera knowledge needed.
First, a bit of background
Fujifilm is a Japanese company that made photo film for decades. If you've ever used a film camera, there's a good chance it had a Fujifilm roll inside. Every type of film had its own look: some had strong, bright colours, some were soft and warm, some were black and white.
Today Fujifilm also makes digital cameras. And those cameras can imitate the look of their old films. Fujifilm calls these looks film simulations. You choose one in the camera, and your photos come out looking a bit like they were shot on that film.
So what is a recipe?
A recipe is a list of camera settings that creates one specific look. Think of it like a cooking recipe:
- The base is a film simulation, for example "Classic Chrome". It decides the general character of the photo.
- The seasoning is a handful of extra settings: a little warmer here, softer there, some film grain on top.
You type these settings into your camera once and save them. From then on, every photo you take comes out with that look. It's finished the moment you press the button. You don't need to edit it on your computer or phone afterwards.
That's the big difference to the way most people edit photos today. Usually you take a photo first and then add a filter or a Lightroom preset later. With a recipe, the camera does it while taking the photo.
Two words you need to know: JPEG and RAW
Cameras can save a photo in two ways:
- JPEG is a finished picture, like the photos on your phone. You can share it right away. This is where the recipe's look ends up.
- RAW is the unprocessed data from the camera's sensor, a bit like a film negative. It looks flat at first and has to be edited before it looks good. A recipe doesn't change the RAW file.
Most photographers who use recipes save both at the same time. The JPEG is the finished photo, the RAW is a backup in case they want to edit it later.
What's in a recipe?
Here are the settings you'll find in almost every recipe, in plain words:
- Film simulation: the base look, as explained above.
- White balance: how warm (more orange) or cool (more blue) the colours are. Most recipes also add a small shift towards red or blue. This setting changes the mood more than any other.
- Dynamic range: helps the camera keep detail in very bright areas, like a sunny sky, so they don't turn pure white. You'll see it as DR100, DR200 or DR400.
- Highlight and Shadow: how bright the bright parts and how dark the dark parts of the photo are. Lower numbers make the photo softer, higher numbers make it punchier.
- Color: how strong the colours are.
- Color Chrome Effect and Color Chrome FX Blue: give strong colours and blue skies more depth.
- Grain: adds the fine texture you know from old film photos.
- Sharpness, Clarity and High ISO NR: how crisp or soft the photo looks. Many recipes turn these down for a softer, more analog feel.
Here's what that looks like in practice. This is my favourite recipe, Summer Sauce. Don't worry about understanding every number. You just type them in:
- Film simulation: Classic Chrome
- Dynamic range: DR400
- White balance: Auto, +3 Red, −6 Blue
- Highlight −2, Shadow −2
- Color +4
- Color Chrome Effect Strong, FX Blue Strong
- Grain Weak, Large
- Sharpness −1, High ISO NR −4, Clarity −5
- ISO Auto, exposure compensation 0 to +1
The result: soft, dreamy photos with warm, honey-coloured light. It works best on bright, sunny days.
The one thing a recipe doesn't do: brightness
A recipe decides how your photo looks, but not how bright it is. That's still up to you, and it matters more than you'd think. The same recipe can look light and airy in a brighter photo, or moody in a darker one.
To control brightness, you use exposure compensation. On many Fujifilm cameras it's a dial on top marked with −1, 0, +1 and so on; on others it's a button plus a wheel. Plus makes the photo brighter, minus makes it darker. Most recipes suggest a setting, like "0 to +1" for Summer Sauce. Use that as a starting point and play with it. Exposure compensation isn't part of the saved recipe, so it's the one thing you keep adjusting while you take photos. Once you shoot with recipes, it's basically your editing tool.
Which cameras can do this?
Recipes are made for Fujifilm's digital cameras, the ones with names like X-T5, X100VI or X-S20. But not every model has every setting:
- Newer cameras (roughly from 2019 on, starting with the X-Pro3, X100V and X-T4) can do almost everything.
- Older cameras like the X-T3 or X-T30 are missing a few settings, like Classic Negative or Clarity. There are recipes made especially for them.
Most recipes say which cameras they're made for. If yours isn't listed, try it anyway and skip what your camera doesn't have.
How to save your first recipe
- Open the camera menu and go to the image quality settings. Look for Edit/Save Custom Setting.
- Choose an empty slot. Most cameras have seven, called C1 to C7.
- Type in the recipe's settings and give the slot a name, for example the recipe's name.
- To use it, press the Q button on the back of the camera. It opens a quick menu where you can switch between your saved looks in two clicks.
Two things that confuse almost everyone at the start:
- DR400 is greyed out and you can't select it? DR400 needs a higher ISO, which is the camera's sensitivity to light. If the ISO is set too low, the option is locked. Set the ISO to Auto and it becomes available.
- The camera pauses after every photo? That's the Clarity setting. If it's set to anything other than 0, the camera needs a moment to process each photo. Also, if you switch to burst mode (taking many photos in a row), the camera turns Clarity off, so those photos look slightly different.
Where to find recipes
The biggest collection is Fuji X Weekly by Ritchie Roesch, with more than 350 free recipes on the website and in the Fuji X Weekly app. That's where I started.
I also share my own recipes on my website, with every setting explained and ten unedited photos for each, so you can see how they look in real life: danieljschwarz.com/recipes.
How to choose your first one
Choose by the light you usually shoot in, not by the prettiest example photo. A recipe made for bright summer sun can look flat and muddy on a grey day, and a punchy recipe can be too harsh at noon. Summer Sauce, for example, loves strong sunshine but looks dull in fog. That's why I made a second version, Summer Sauce Contrast, for cloudy days.
Then pick one, save it and use it for a few weeks before you judge it. You'll learn more from a hundred photos with one recipe than from ten photos each with ten different ones.
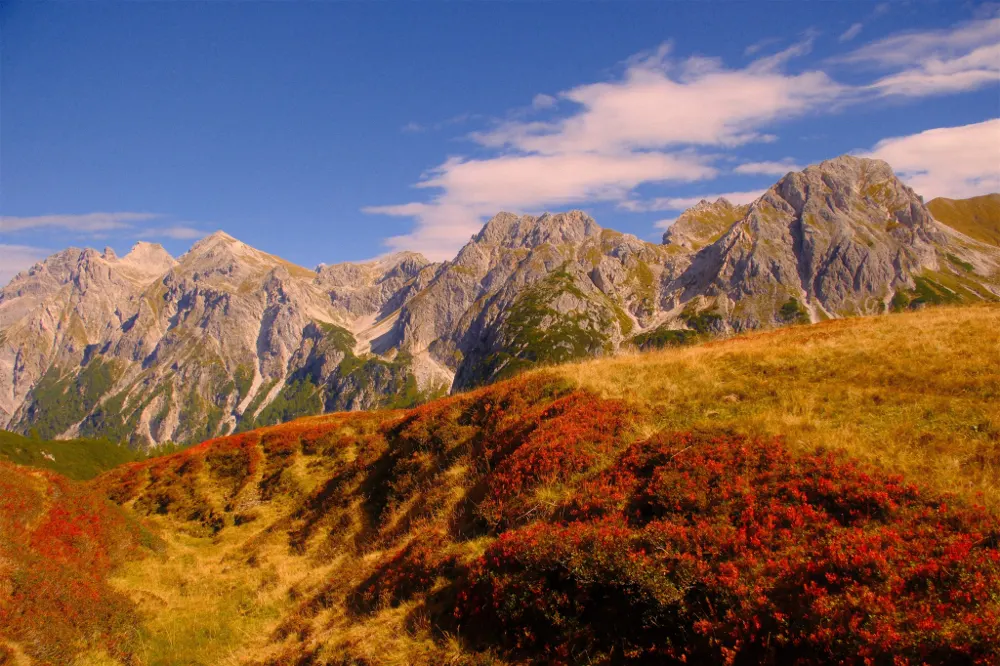
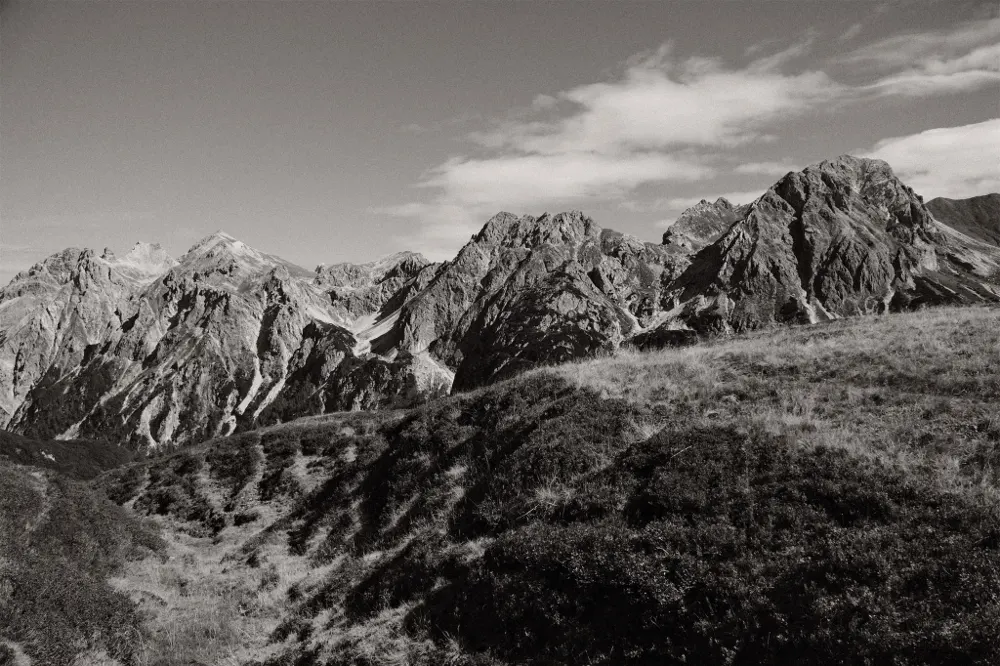
One photo, six recipes
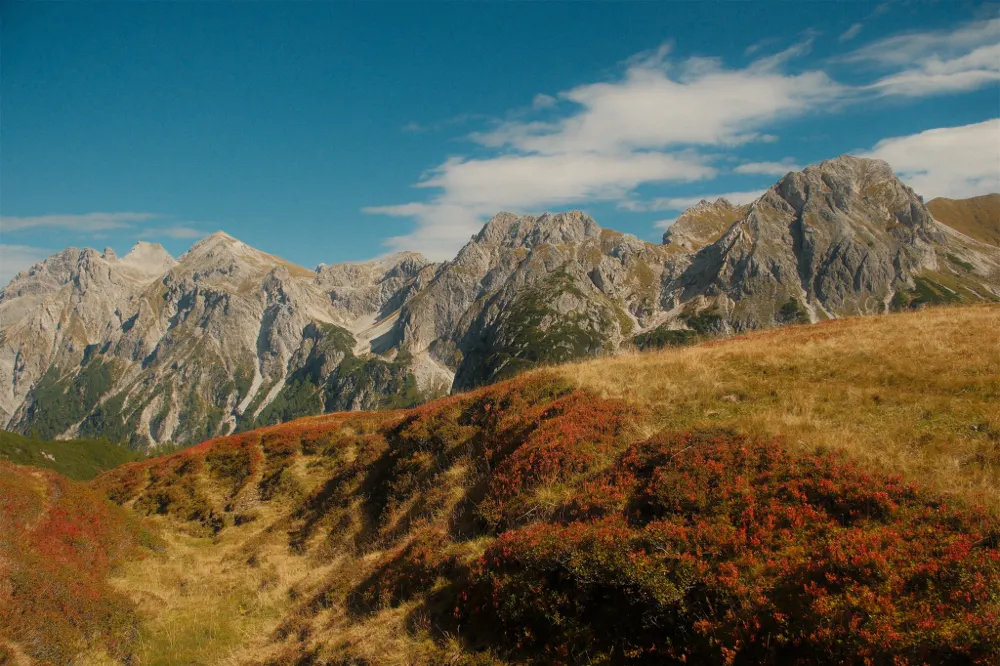
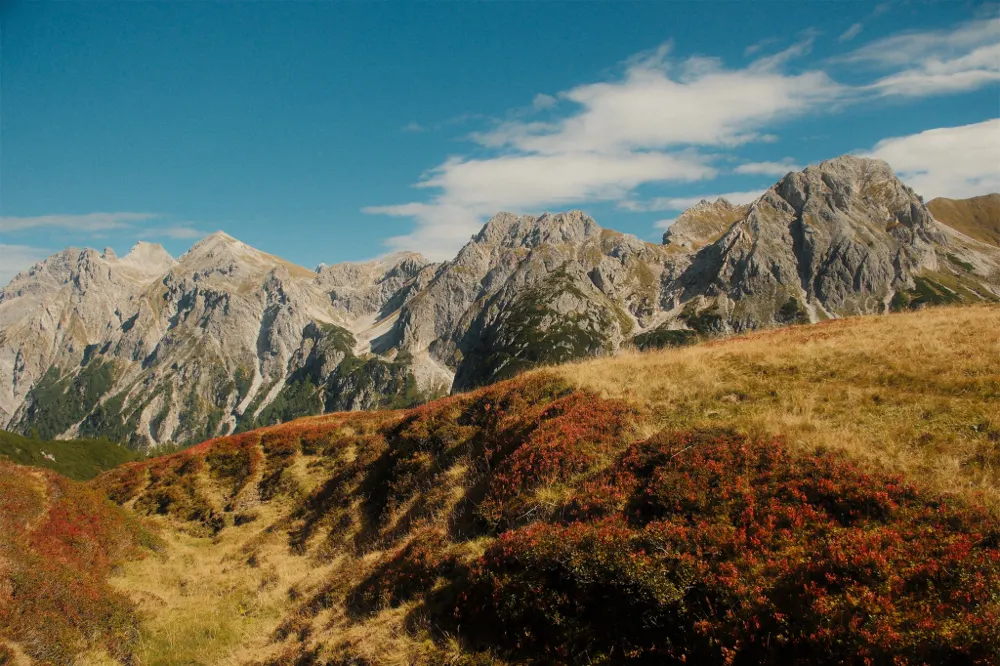
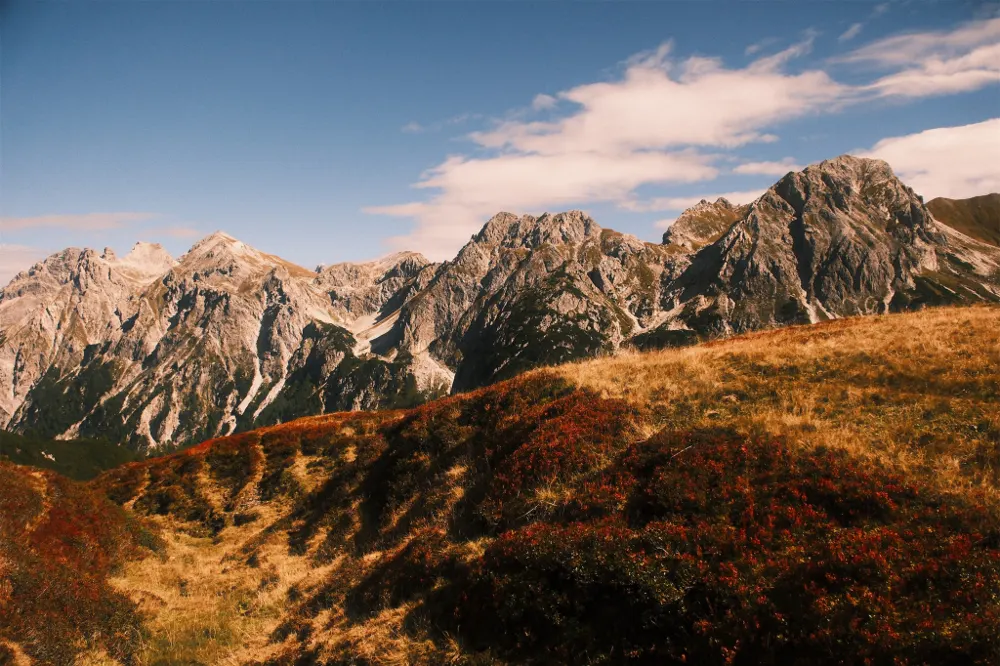
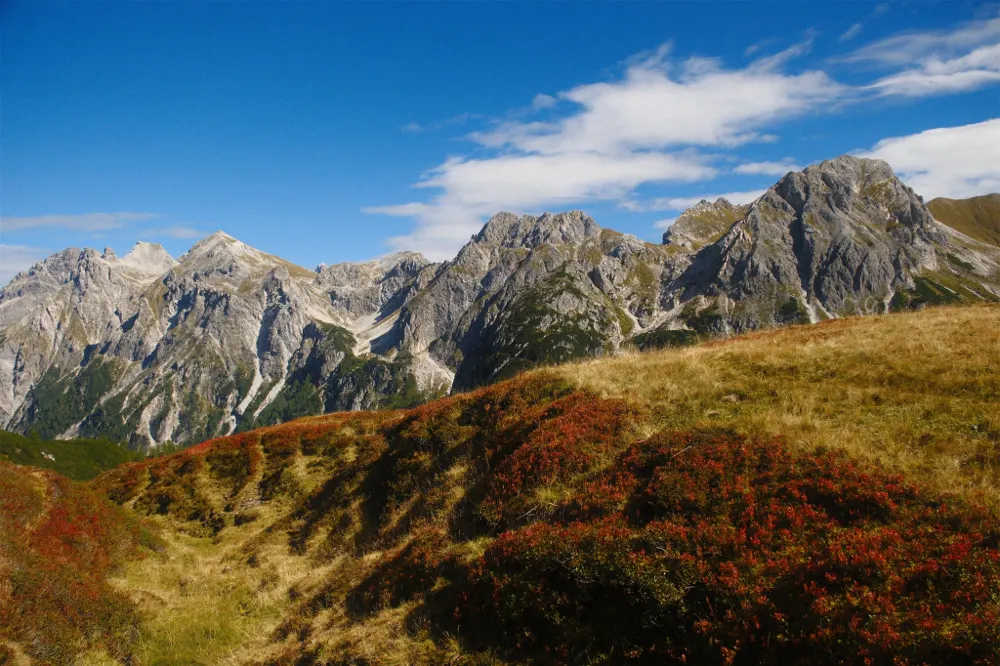
To show you how big the difference is, here's the same photo from an autumn hike in six of my recipes. Same place, same light, same moment: only the recipe changes. The first two even use the same film simulation, Classic Chrome, and still look different.